How to Prevent Ice Dams on Idaho Homes (It's Not What You Think)
Ice dams aren't a roof problem — they're a ventilation and insulation problem. Here's what actually stops them on Treasure Valley homes.
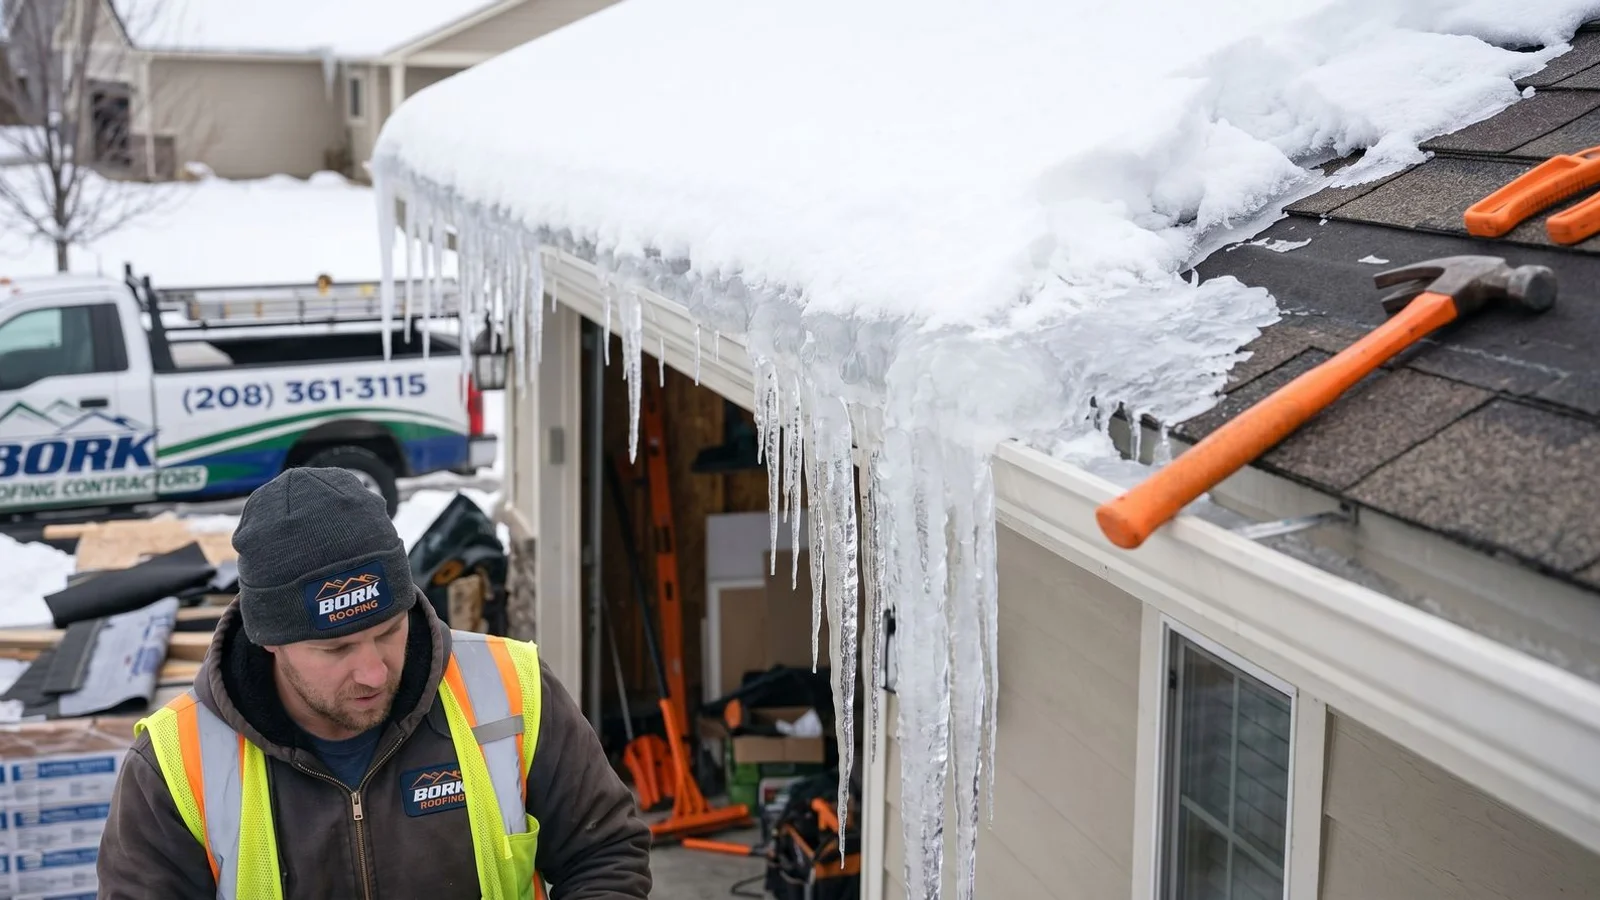
We hear the exact same frustration from property owners every single February. A massive ridge of ice builds up along the back eaves, and water starts pouring through the kitchen ceiling.
The worst part is that this damage is entirely preventable.
Our team knows that fixing the roof itself rarely solves the root issue. When property owners ask us How to Prevent Ice Dams on Idaho Homes (It is our most common winter question), we point them straight to the attic. Let’s look at the actual thermal data behind these leaks, along with the seasonal fixes we bundle into our roof maintenance program.
What Actually Causes an Ice Dam
We need to look inside the house to find the real culprit. Heat loss through the ceiling is the true engine behind every frozen roof. Our inspections reveal a very specific four-stage process that plays out on almost every affected property:
- Snow sits on your roof. A thick blanket of snow acts as an insulating layer over the shingles.
- Heat escapes from the attic. Warm air from the living space warms the center of the roof deck, which melts the bottom layer of snow directly against the roof.
- Meltwater runs down the roof. This liquid water flows downward until it hits the cold eave overhang.
- More meltwater pools behind the barrier. Because the eave is not positioned over a heated interior space, the water refreezes and builds up a solid wall of ice.
Our daily field tests show that stopping heat from escaping the attic is the only way to halt the freezing cycle. Missing from that sequence is any mention of defective roofing materials. If the attic remained as cold as the outside air at 32 degrees or below, you would never see that initial meltwater.
The Wrong Ways to Fix Ice Dams
We see property owners waste thousands of dollars on symptom treatments every winter. Many popular methods actually create more long-term property damage.
- Heat cables along the eaves. Constant wattage roof cables use about 5 watts per linear foot, which easily adds $40 to $200 per month to an electricity bill based on 2026 utility rates. They might clear a small channel for water, but they do absolutely nothing to stop the underlying heat loss. Our crews frequently replace these systems because they fail within just a few years.
- Chipping or chiseling the ice. Hitting a frozen roof with blunt force shatters cold, brittle asphalt shingles. You will destroy your roofing material without stopping the next dam from forming.
- Hot-hosing the ice. Spraying hot water onto a freezing roof simply adds more liquid to an active water problem. This method guarantees a thicker layer of ice by the next morning.
- Salt or chemical deicer. These products might melt a small hole temporarily, but the runoff heavily corrodes aluminum flashing, roof fasteners, and gutters.
How to Prevent Ice Dams on Idaho Homes (It Takes Four Steps)
We rely on a proven, multi-step process to stop winter roof leaks permanently. Addressing the actual building envelope is the only scientifically sound approach.
Step 1: Attic Insulation
Our standard recommendation always starts with a deep layer of attic insulation. The local residential building code in Idaho requires R-49, which translates to roughly 14 inches of blown cellulose or fiberglass. Many older Meridian homes built before 2010 only have R-30 or less.
We find that the financial return makes this an easy decision for homeowners. Upgrading a standard residential attic to R-49 typically runs between $1,500 and $3,500 depending on the square footage. The EPA estimates that combining proper insulation with air sealing reduces average heating and cooling costs by 15 percent.
Here is a quick comparison of standard insulation levels:
| Metric | Older Meridian Homes | Modern Building Code |
|---|---|---|
| R-Value | R-30 or less | R-49 minimum |
| Depth | ~8 inches | ~14 inches |
| Heat Loss Risk | High | Low |
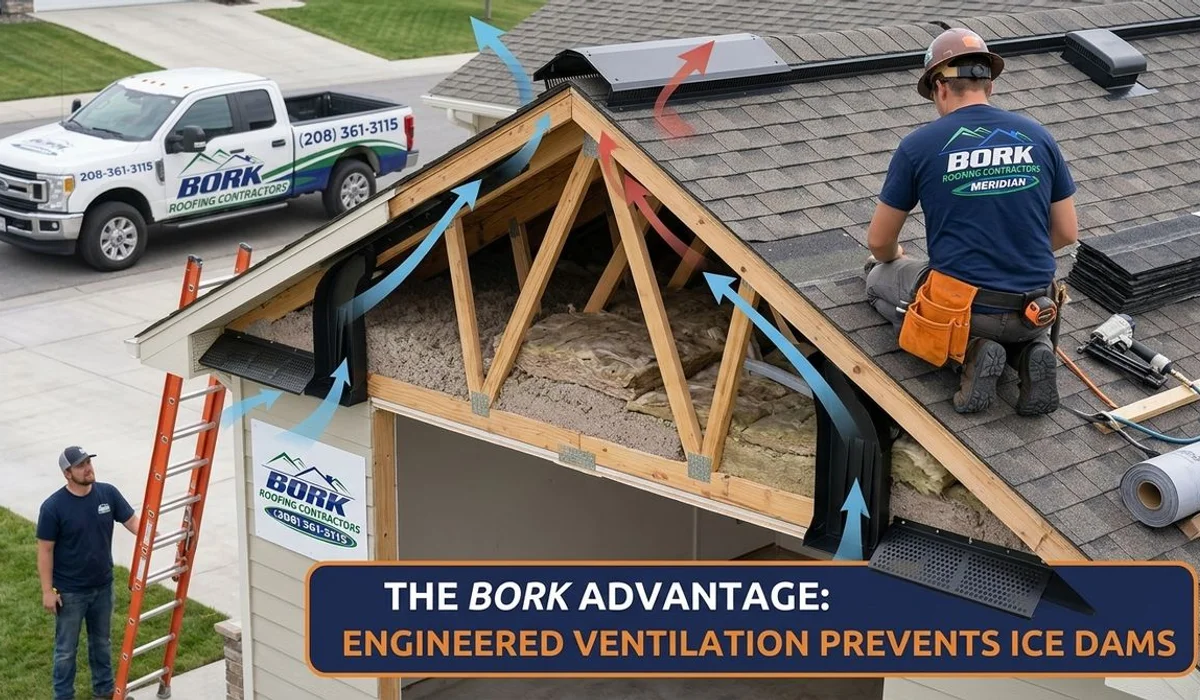
Step 2: Ventilation Balance
We ensure that every attic maintains a balanced airflow system. Proper soffit-intake and ridge-exhaust ventilation keeps the space cold during the winter months. The system requires two key elements to function properly:
- Equal or greater air intake at the soffits compared to the exhaust at the roof ridge.
- Completely unobstructed pathways for air to flow upward.
Our installers always place physical insulation baffles near the eaves to ensure these conditions. These simple plastic chutes hold the insulation back and guarantee that fresh air can sweep up from the soffits.
Step 3: Air Sealing
Our top priority before blowing a single ounce of insulation is to seal up the ceiling deck. Heated air sneaks into the attic through unsealed recessed light fixtures, plumbing pipes, electrical boxes, and basic attic hatches.
This step represents the highest return on investment in any weatherization project. We use specialized equipment like FLIR thermal imaging cameras to pinpoint exact locations of heat exfiltration. Plugging these hidden gaps stops the warm air from ever reaching the roof decking.
Step 4: Ice-and-Water Shield (On Your Next Roof)
We strongly advise adding a secondary defense layer during your next full roof replacement. A self-adhering polymer-modified bitumen membrane, commonly called an ice-and-water shield, provides a completely waterproof barrier. The International Residential Code (IRC) specifically mandates that this barrier must extend from the roof edge to a point at least 24 inches inside the exterior heated wall line.
Because most homes have overhangs, starting at the edge and passing that interior 24-inch mark often requires laying down 6 feet of material. Our roofing teams depend on this thick rubberized layer to seal tightly around roofing nails and block backed-up water from reaching the interior drywall. Most Idaho building codes require a minimum of 3 feet of coverage, but going the full 6 feet is the safest approach for Meridian properties.
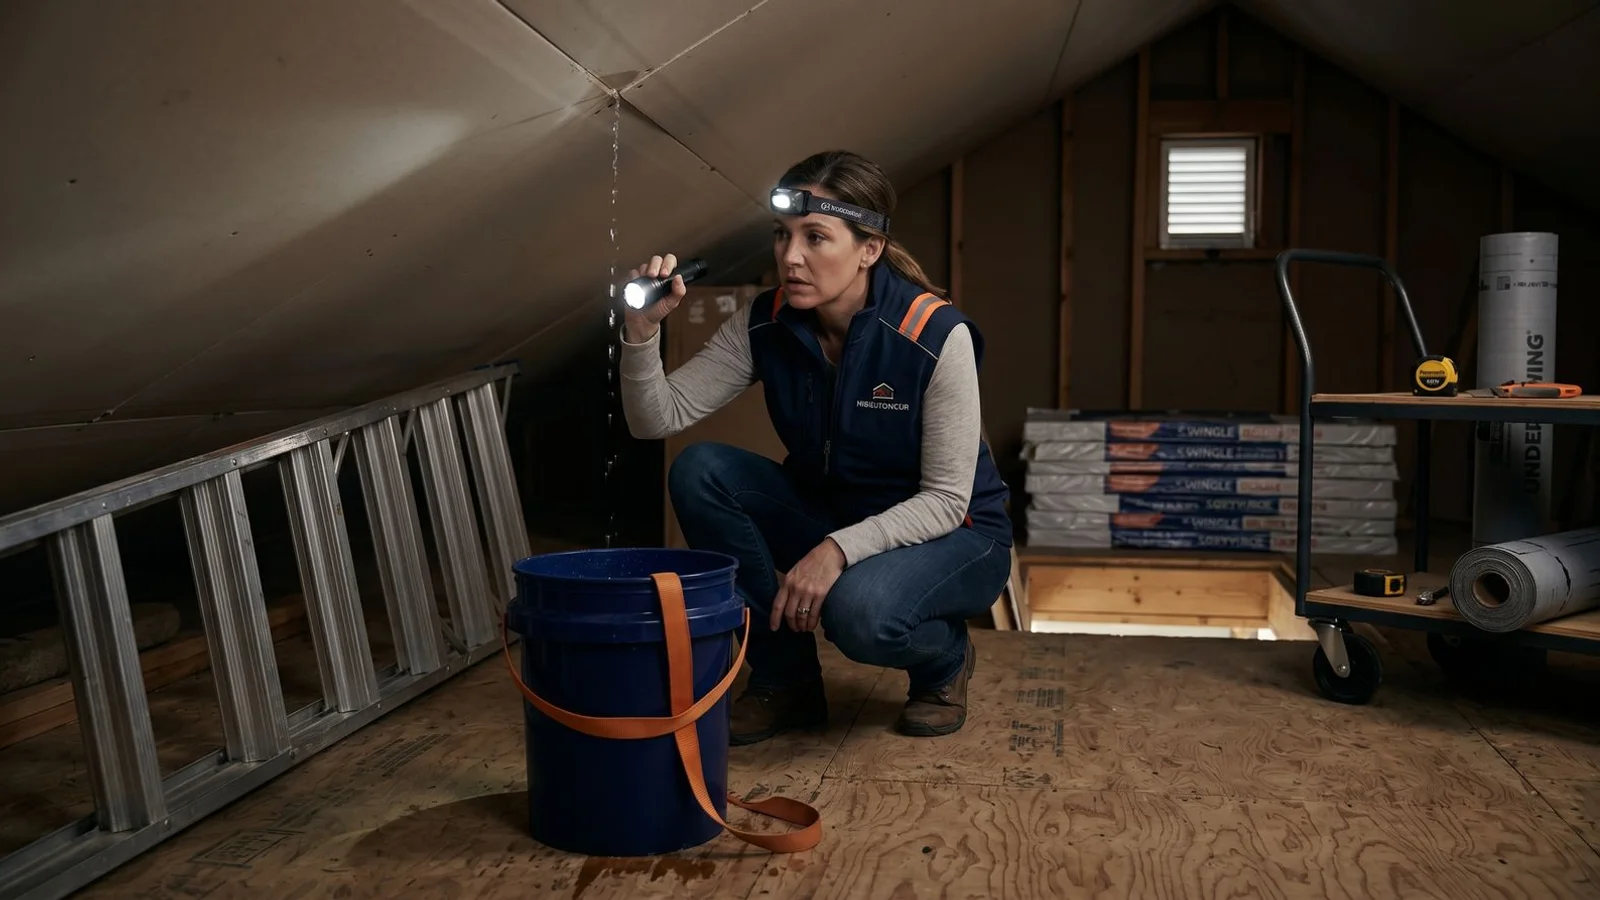
Emergency Ice Dam Response
We know how stressful it is to watch water drip through a kitchen light fixture. A fast response is crucial because standing water causes mold growth to begin within just 24 to 48 hours. According to 2026 industry data, the national average cost to repair home water damage now sits at $3,860.
Taking immediate action limits this financial impact. If you have an active leak right now, follow these exact steps:
- Call the 24/7 emergency line at (208) 361-3115. We provide same-day mitigation for severe leaks.
- Protect your interior space. Move all furniture, expensive electronics, and important valuables away from the drip zone.
- Stay off the roof. Walking on a steep, ice-covered pitch is incredibly dangerous and often lethal for untrained individuals.
Our emergency protocol involves using low-pressure commercial steamers to carefully channel the pooled water off the roof without damaging the fragile shingles. Once the immediate crisis passes, a technician will inspect the attic space and present a long-term plan for proper insulation and ventilation upgrades.
The Bork Ice Dam Audit
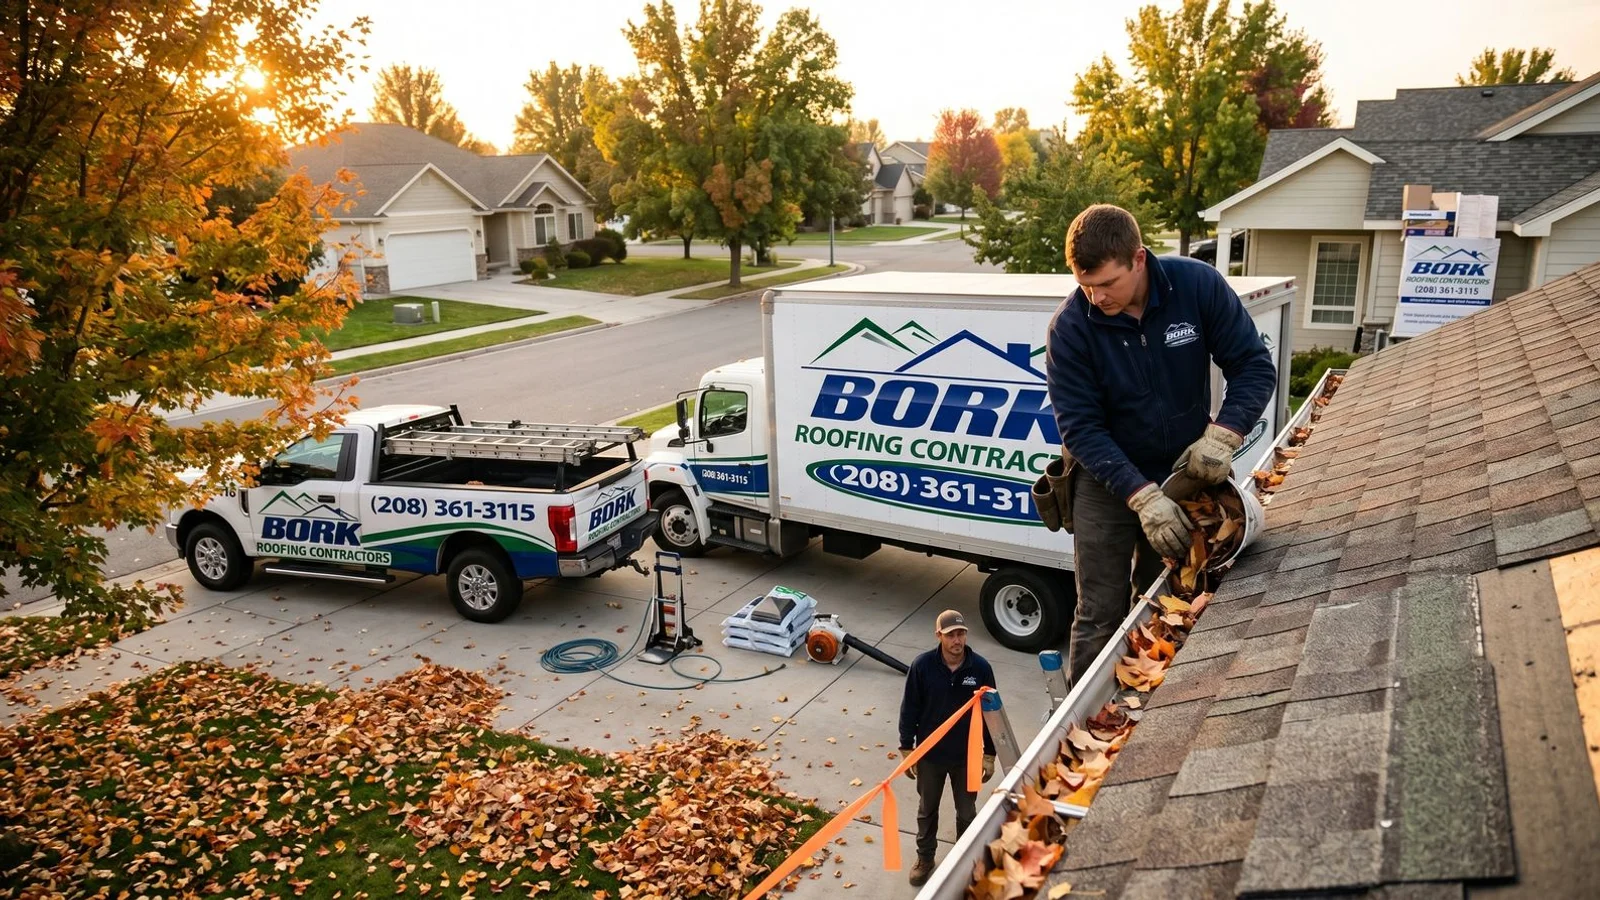
Our maintenance program includes a comprehensive fall assessment to catch vulnerabilities early. Performing thorough ice dam risk audits for local property owners before the first snow flies is a core part of the service. During this visit, a technician will measure your existing insulation depth and calculate your current ventilation ratios.
We also use advanced thermal moisture meters to check for hidden dampness near the eaves. You will receive a detailed written report outlining specific, data-backed remediation recommendations.
Conclusion
Our team is ready to help you protect your property this winter. Now you know exactly How to Prevent Ice Dams on Idaho Homes (It just requires a little proactive maintenance). Call (208) 361-3115 to schedule your evaluation and keep your home safe from expensive water damage.