Roof Replacement Timeline: What to Expect From Tear-Off to Cleanup
A day-by-day walkthrough of a typical Bork Meridian roof replacement — from tear-off through final 21-point walkthrough — so you know exactly what's happening.
Homeowners frequently worry about the disruption a major property upgrade might cause. Our professional service team hears from customers every day who assume a full teardown will displace them for weeks. Understanding the roof replacement timeline from tear-off to cleanup proves that the reality is much less stressful.
We typically finish most average-sized Meridian properties in just one to three days, assuming the weather cooperates.
This guide outlines the daily schedules and breaks down the specific phases of the project. We will review the data and share practical ways to prepare your home.
Day 0: The Prep (1 Week Before)
A smooth installation starts well before any hammers swing. We secure all required permits from the City of Meridian, which generally cost between $150 and $500 depending on your project valuation. Municipal code mandates these permits for any structural work or full replacement.
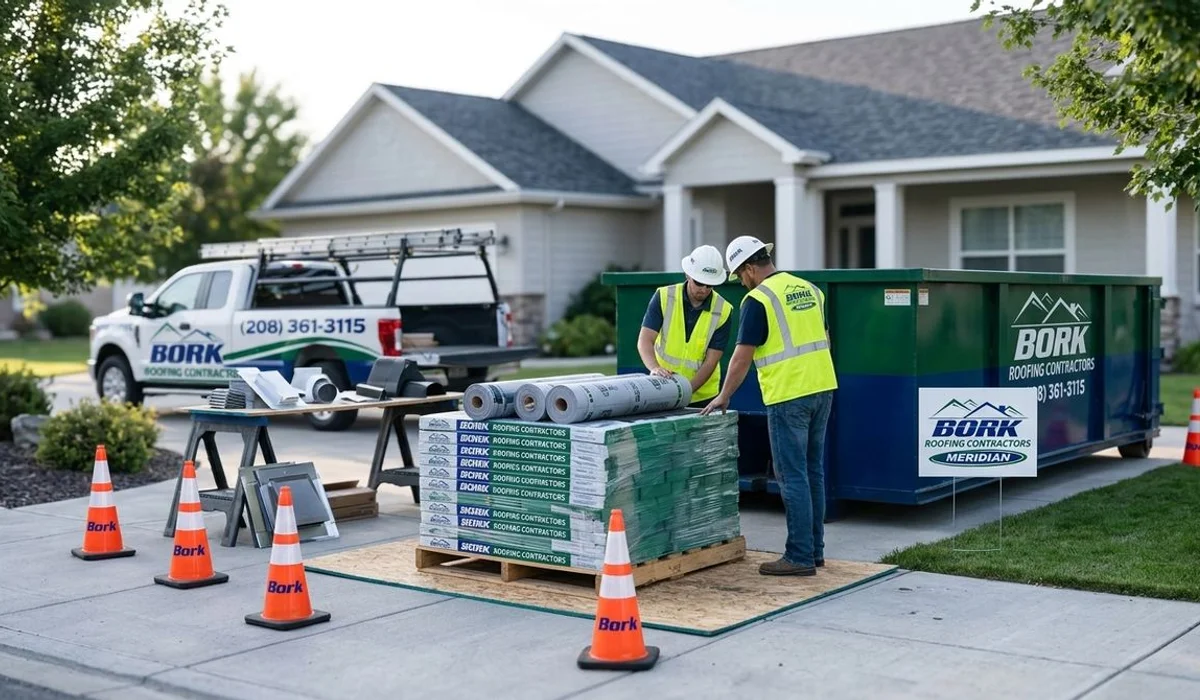
We also verify HOA approvals and coordinate the material delivery schedule. A 20-yard roll-off dumpster is usually ordered for standard homes. This size easily holds up to 40 squares of asphalt shingles, containing around 6,000 pounds of old material safely.
Our office will call you 24 to 48 hours before the start date to confirm the weather forecast. Your main responsibility is preparing the property for a major construction event. We recommend taking a few simple steps to protect your belongings:
- Move all vehicles out of the driveway to clear space for the dumpster.
- Remove fragile pictures from the walls to prevent vibration damage.
- Cover valuable items in the attic with a protective tarp.
- Keep pets securely indoors during all active work hours.
- Pull patio furniture away from the exterior walls.
Taking these precautions ensures a safer environment for everyone involved.
Day 1: Tear-Off and Dry-In
Morning Setup and Demolition
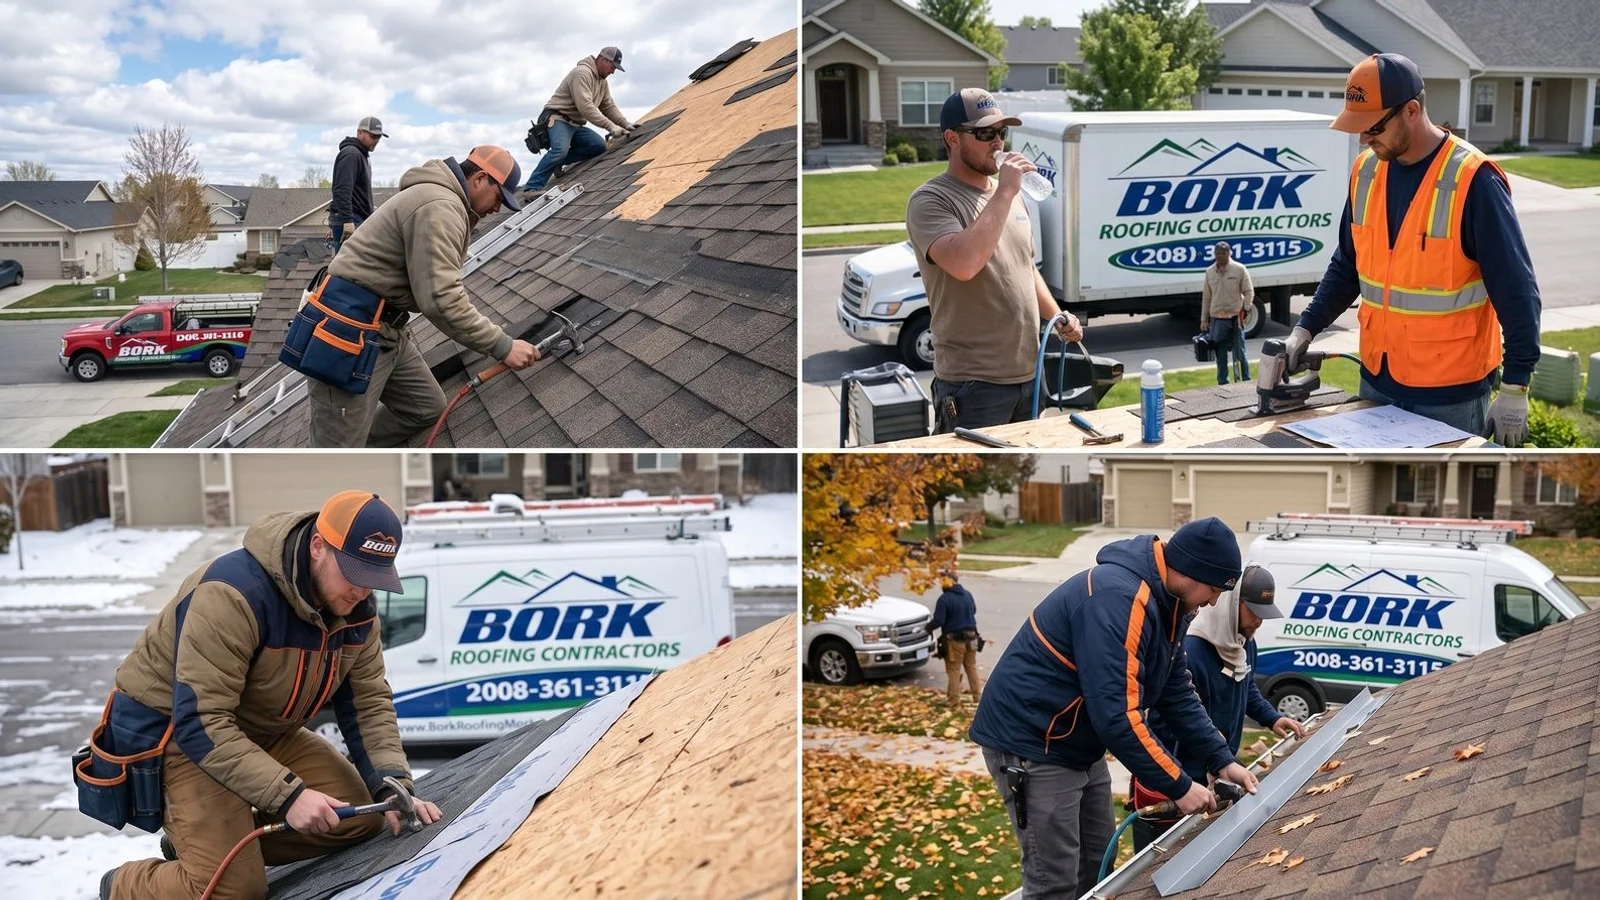
Punctuality sets the tone for the entire project. Our crew arrives between 6:30 and 7:30 AM to greet you and confirm access points. Ground protection is the immediate priority.
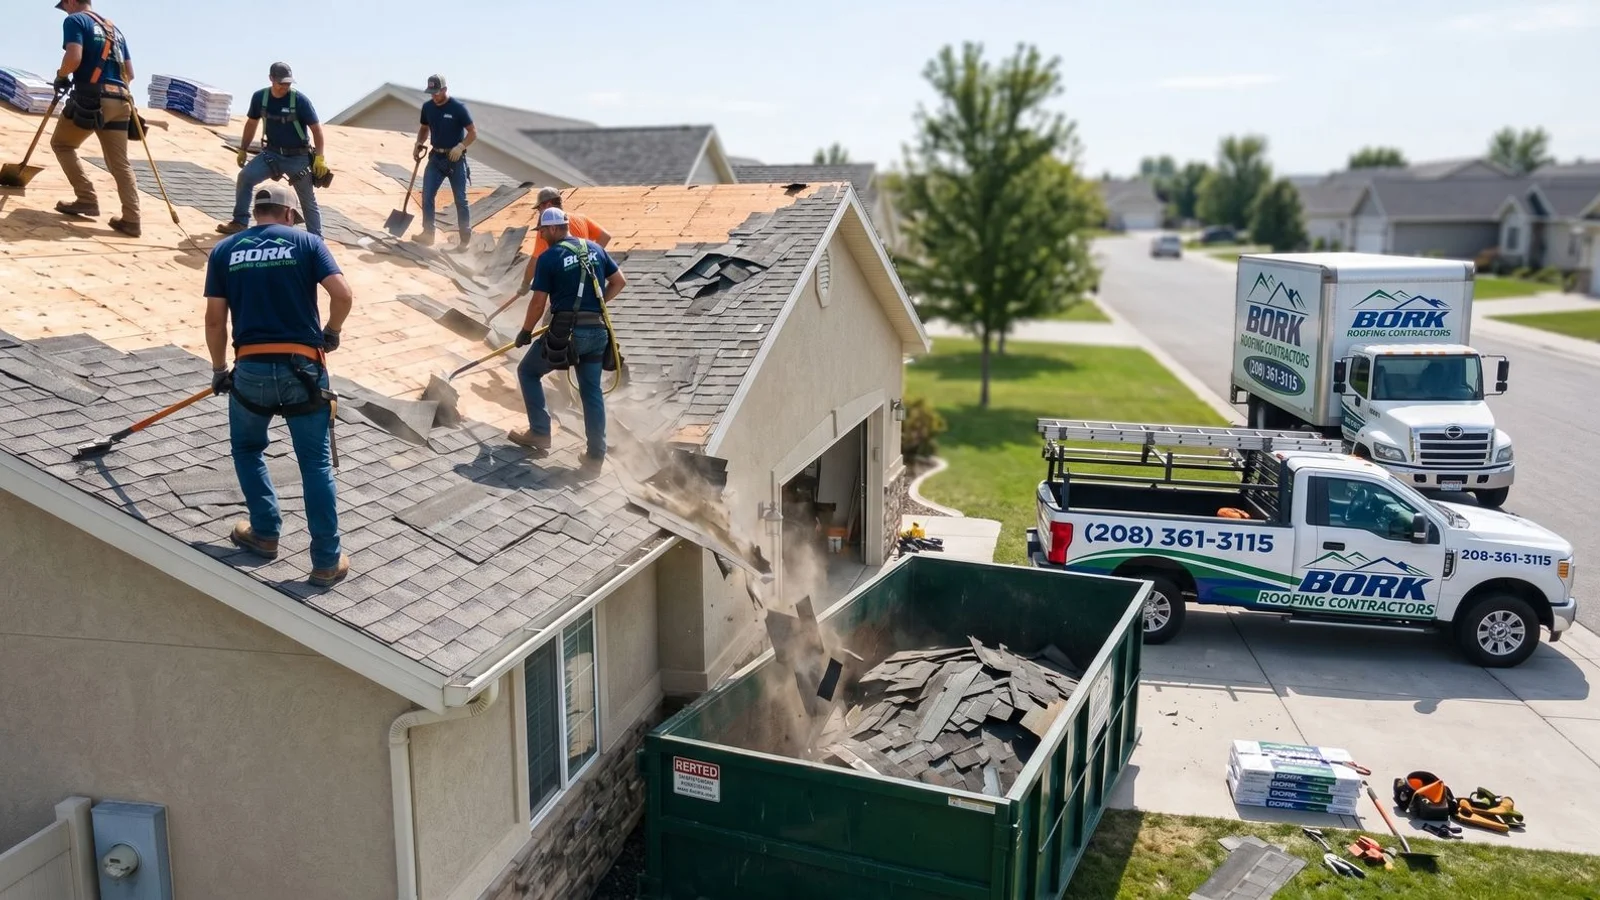
We lay tarps over flower beds and place plywood on the lawn to protect your landscaping from heavy foot traffic. Tear-off starts aggressively around 7:30 AM.
You will hear significant noise from air compressors and heavy shovels, with decibel levels often hitting 90 to 115 decibels right below the roofline. We strip away the old shingles, synthetic underlayment, and all existing flashing down to the bare wooden deck.
Decking Inspection and Repair
Exposing the bare wood allows for a comprehensive structural assessment. Our team inspects every square foot of the decking for rot, water damage, or soft spots between 11:00 AM and 1:00 PM. Local Meridian building codes require roofs to withstand 115 mph wind speeds, making a solid nailing surface absolutely critical.
Any compromised wood must be replaced to meet these safety standards. We document required replacements with photos and show them to you before making the repair. This extra work is then quoted against your original estimate allowance.
Weatherproofing and Cleanup
The afternoon shifts focus to sealing the property against the elements. We lay a specialized ice-and-water shield in the valleys, along the eaves, and around all penetrations. This rubberized barrier prevents water from backing up under the shingles during heavy rain.
Standard synthetic underlayment covers the remaining deck surface. New metal drip edge is then installed along the eaves to direct water into the gutters. The house is now entirely weather-tight, even if an unexpected afternoon storm rolls in.
We finish the first day by running a heavy magnetic nail sweep across your driveway, lawn, and garden beds. A visual walk ensures the site is safe. The materials for tomorrow are staged and ready for early morning access.
Day 2: Shingles and Flashing
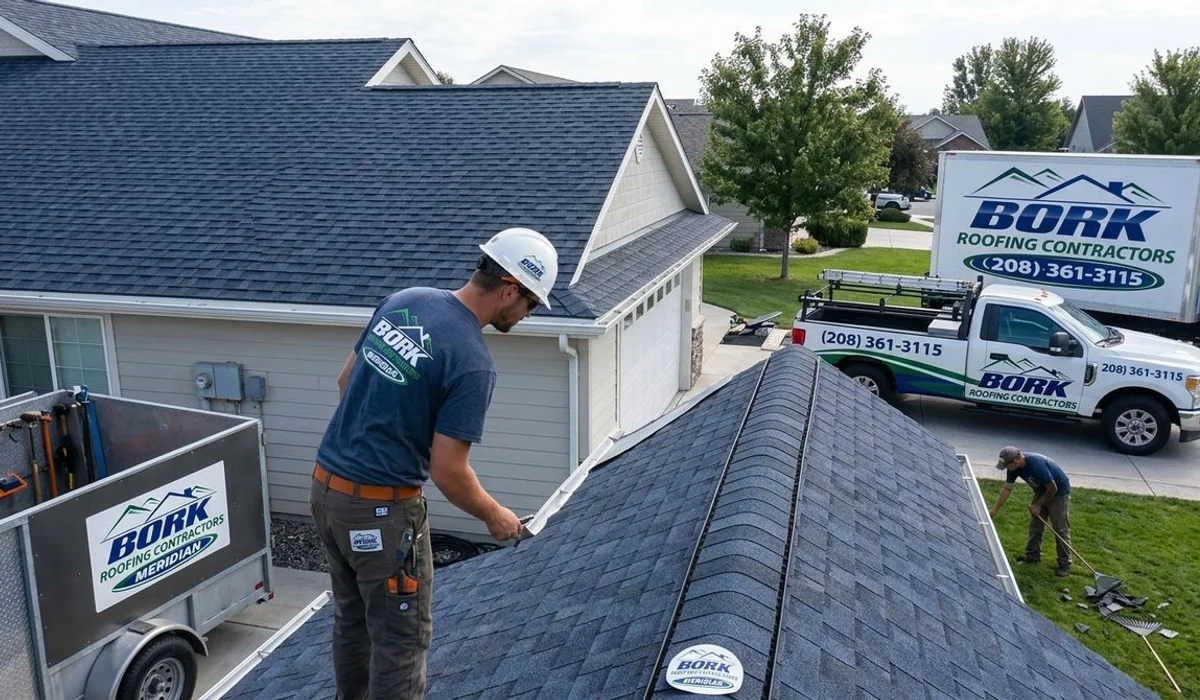
Applying the Shingles
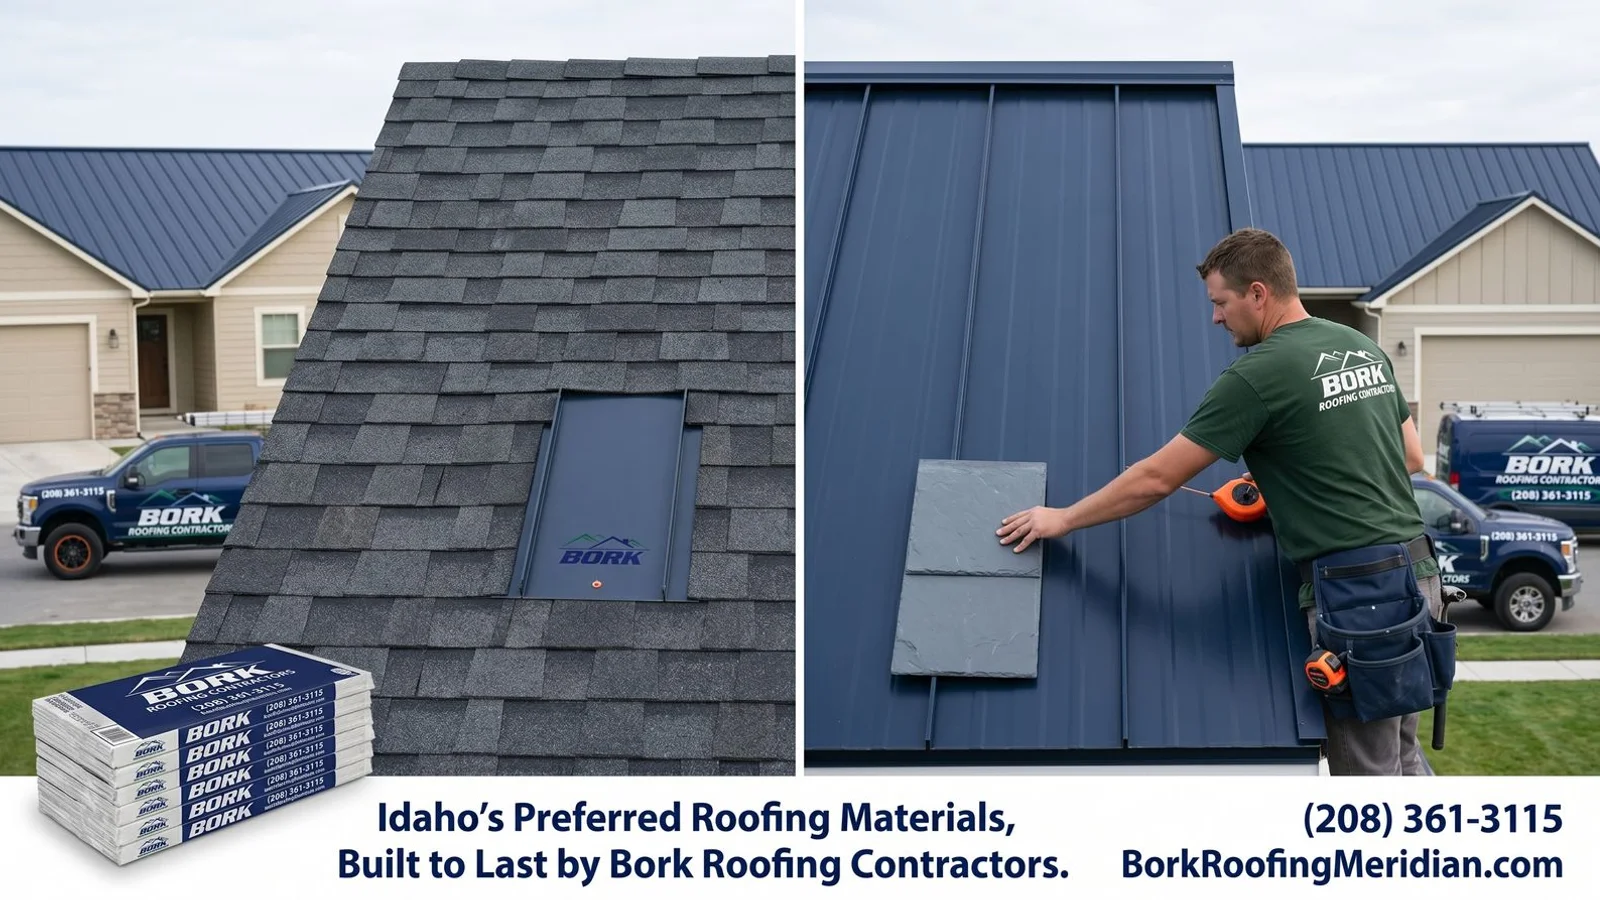
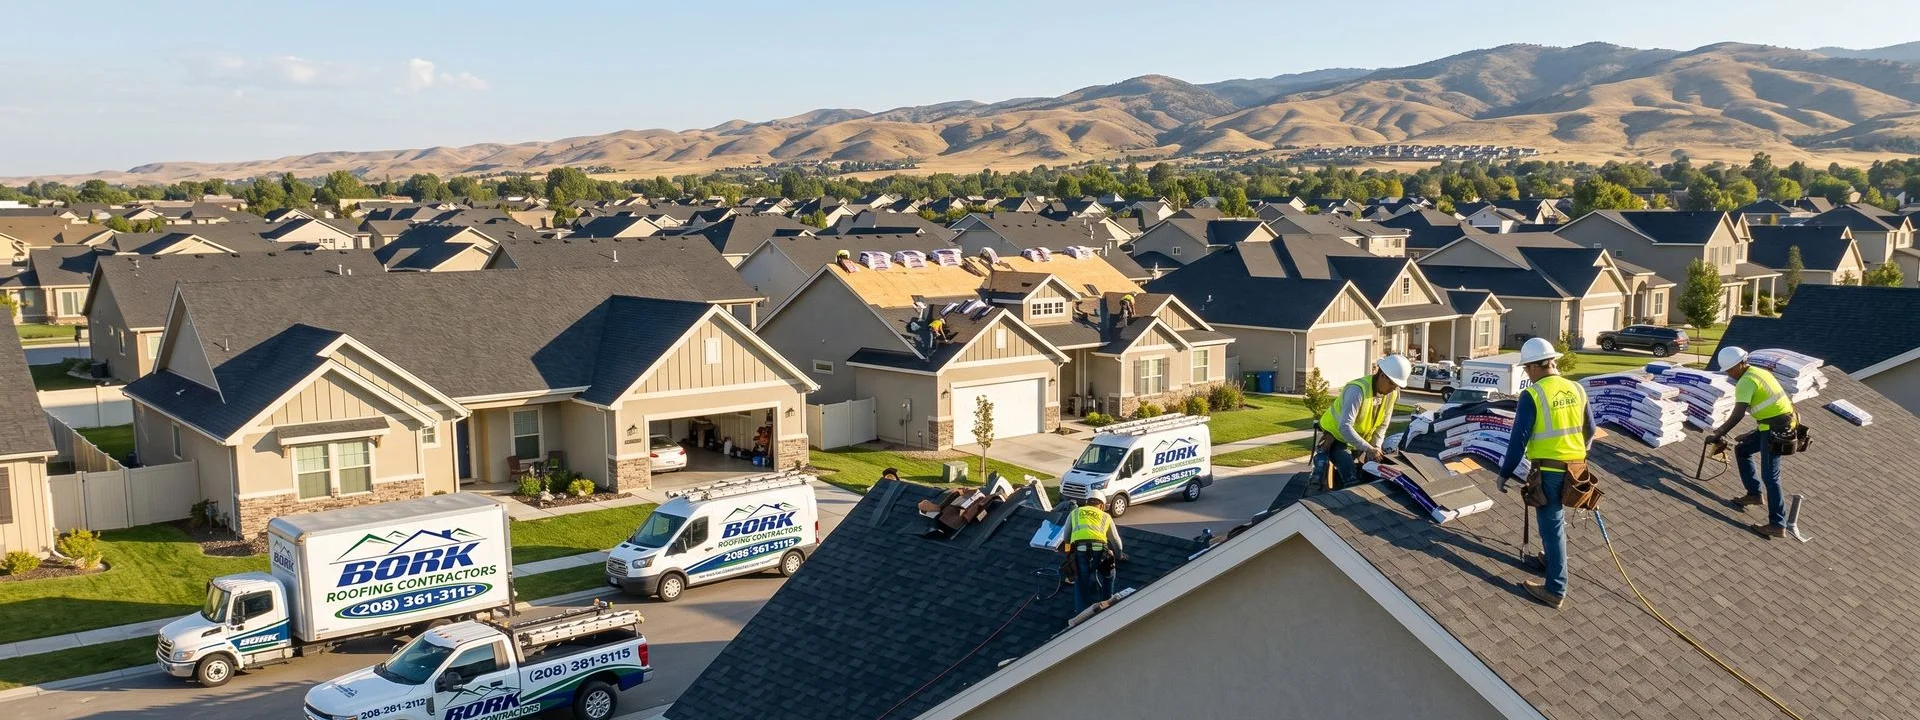
Installation day begins promptly at 7:00 AM with the placement of starter strips along the eaves. Our crew typically divides into two teams, working from the bottom edges upward to maintain a perfectly straight line. Asphalt shingles remain the dominant choice for homeowners, covering roughly 80% of residential projects due to their durability and cost-effectiveness.
We secure each shingle using a manufacturer-specified six-nail pattern. This specific fastening method is required to activate high-wind warranties and protect your home against intense Idaho wind gusts.
Installing Flashing and Ridge Vents
Proper seals around roof penetrations prevent the vast majority of common leaks. We install new step flashing around chimneys and fresh pipe boots over plumbing vents as the teams work their way up the slopes.
The final architectural touches happen between 3:00 PM and 5:00 PM. We install the ridge vents and cap shingles along the peaks to give the roof a clean, finished appearance. These vents are crucial for allowing trapped hot air to escape your attic.
For about 70% of standard homes under 2,000 square feet, this marks the final day of construction. We conduct another rigorous magnetic nail sweep and clean any debris out of the gutters. The empty material pallets are then hauled away.
Day 3 (If Needed)
Larger properties naturally require extended timeframes. Our schedule pushes into a third day for houses over 4,000 square feet or those featuring complex architectural designs. Multiple dormers, steep pitches exceeding an 8:12 angle, and large brick chimneys slow down the installation pace.
Here is a general breakdown of how property size and material affect the timeline:
| Home Size & Complexity | Roofing Material | Estimated Timeline |
|---|---|---|
| Under 2,000 sq ft (Standard) | Asphalt Shingles | 1 to 2 Days |
| 2,000 - 4,000 sq ft (Medium) | Asphalt Shingles | 2 to 3 Days |
| Over 4,000 sq ft (Complex) | Asphalt Shingles | 4 to 7 Days |
| Any Size (Heavy Material) | Slate or Concrete Tile | 6 to 14 Days |
Homes using premium heavy materials require significant structural adjustments and specialized handling. Typical day-three work on a large asphalt roof involves finishing the remaining shingle fields and applying the final custom flashing. We wrap up with a comprehensive site cleanup.
Day 3 or 4: Final Walkthrough
Quality assurance is the final step in the installation process. We schedule a detailed walkthrough with you once all installation equipment is removed. A lead supervisor will guide you around the property to review the workmanship.
You will see deck-level photos of areas not visible from the ground, ensuring transparency about the structural repairs. We then hand over your manufacturer warranty registration documents. This is also the exact moment your Bork workmanship warranty becomes fully active.
Any lingering questions or minor concerns get addressed on the spot.
Weather Delays
Outdoor construction schedules are heavily dependent on atmospheric conditions. Our peak season runs from May through October, offering 14 hours of daily sunlight and minimal rain interruptions. July and August can bring brief afternoon thunderstorms that occasionally push a schedule back by half a day.
Temperature limits dictate installation speed just as much as precipitation. We monitor several weather factors that can trigger a temporary pause:
- Ambient temperatures below 40°F: Standard thermal seal strips will not activate properly without sufficient solar heat.
- High wind warnings: Gusts make handling large underlayment sheets and shingles extremely dangerous.
- Active precipitation: Rain or snow prevents adhesives from sticking and makes the decking slick.
A partially finished roof is never left vulnerable overnight. We always secure the structure in a weather-tight state before the crew leaves, meaning your home is fully protected even if a storm hits unexpectedly.
Winter Replacements
Many people assume roofing stops when the snow falls, but cold weather installations are entirely possible. Emergency repairs after severe winter storms are quite common throughout the Treasure Valley. Installing standard materials in freezing conditions simply requires a modified approach.
We frequently use SBS-modified shingles for winter jobs, such as CertainTeed ClimateFlex. These rubberized materials remain flexible at lower temperatures, preventing the cracking associated with standard asphalt.
| Shingle Type | Minimum Install Temp | Flexibility in Cold | Sealing Method |
|---|---|---|---|
| Standard Asphalt | 40°F | Becomes stiff and brittle | Sun-activated thermal strips |
| SBS-Modified Rubber | 20°F | Remains highly flexible | Hand-applied specialized adhesive |
Specialized manual labor is required during these freezing conditions. We must hand-seal each individual shingle because the sun is not hot enough to activate the factory strips. This focused process takes longer but guarantees a safe, secure installation.
Planning Your Roof Replacement Timeline: What to Expect From Tear-Off to Cleanup
Understanding the final phases of your property upgrade ensures you are ready for a smooth, stress-free experience. Our professional service team is prepared to evaluate your specific structure. Call (208) 361-3115 to schedule your free inspection and get a detailed timeline customized for your home.